Craft A Vintage TV Cat Bed For Your Far Out Feline

Written by: Kelli Brinegar
For more than five years, Kelli Brinegar has been using her ability to write and her passion for research to tell the tale of what cats are thinking and why. She has provided care to more than 30 cats in her lifetime.Read more
| Published on August 11, 2020

Cat lovers get the grooviest ideas when it comes to their felines.

Our fondness for our kitties unleashes the creativity, driving to us to fashion the niftiest crafts to keep the cats happy. After all, if the cat isn’t happy, no one is happy!

One surefire way to make a cat happy? Give them a purrsonalized throne just for them.

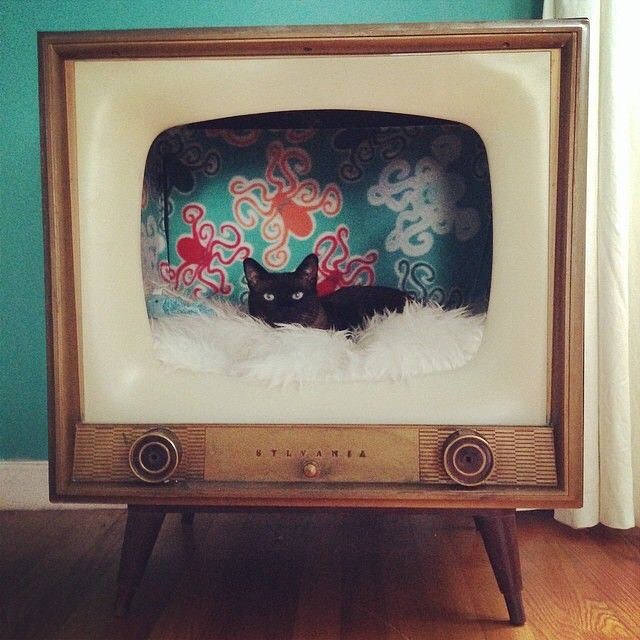
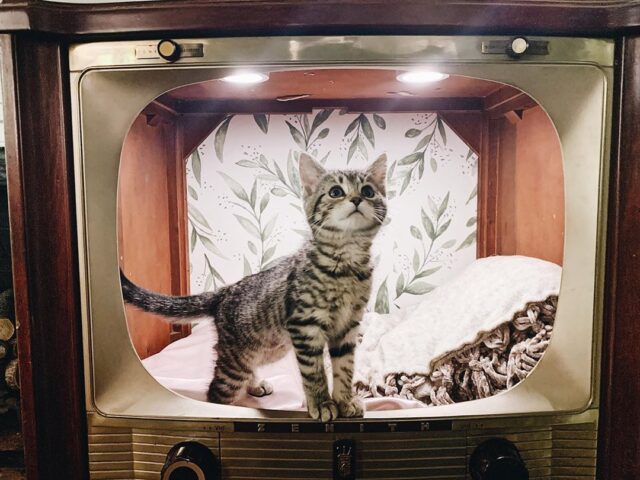
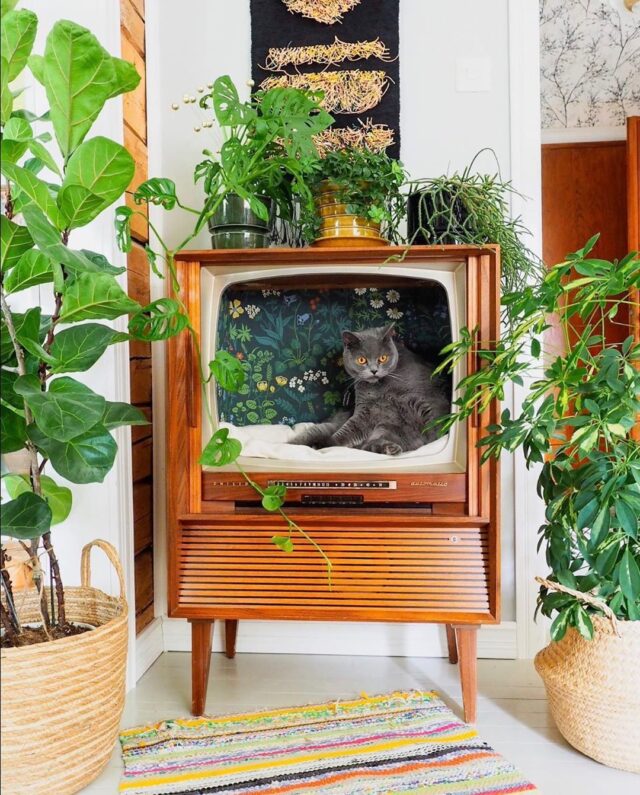
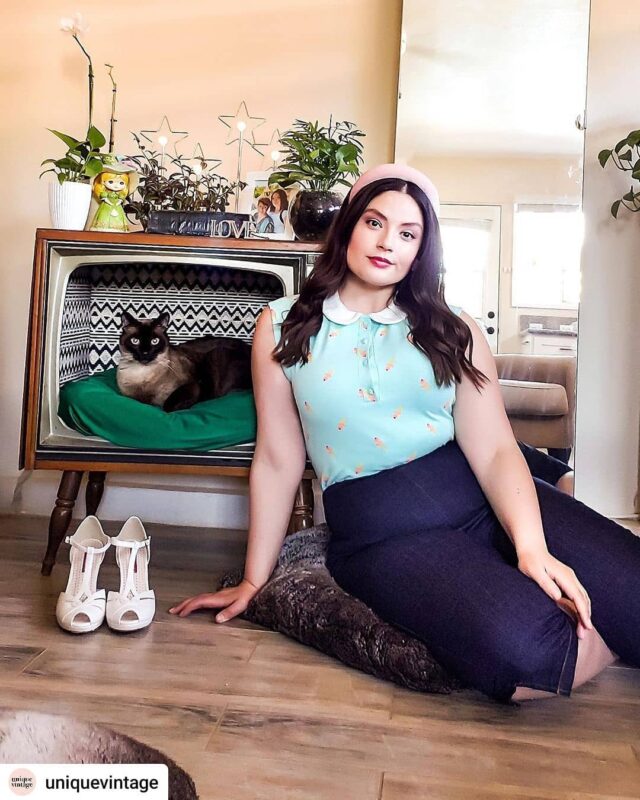
And if you love to create, you can craft a one-of-a-kind TV cat bed for your far-out feline.

vintage tv cat bed
@bohemiandecor/Instagram

How to Make a Vintage TV Cat Bed

Step one: Find an old television set.

This means thrifting fun! Thanks to the modern world of online shopping, you can find a retro TV without even leaving the house. Instructables user Davee930 said, “I found mine for $30 on Kijiji.”

There’s also something pretty nifty about sniffing out the perfect find in secondhand and antique stores. Check out your local charity thrift shops to help make an impact in your community.

vintage tv cat bed
@sagemeadoww/Instagram

Step Two: Take the television down to pieces.

Before disassembling, be sure to discharge the television set! Electronics must be discharged before taking them apart in order to avoid electric shock. If your unsure of how to do this, check out this video on how to discharge a television.


@katemillett1/Instagram

Once you’ve safely discharged the pawesome TV for your cat’s bed, completely disassemble the pieces. Hold onto the outside casing and, as Davee930 instructs, “throw away everything you don’t need and keep everything else (dials, screws, antenna for looks).”

Step Three: Wipe away the years and update with paint.

Clean the old set to remove stains and dirt. Depending on the condition of your set or the material of which it’s made, you may want to grab some paint and give the TV an updated coat in a color you think the cat’s meow. Spray paint makes everything new again!


@purrfectcuppa/Instagram

Step Four: Put those pieces back together.

Reassemble the housing, minus the electrical guts. Here’s where you’ll do a look over for any sharp edges or points that could hurt a cat. Davee930 said, “I used a dremel and sanded down a few sharp points sticking out of the dials on the inside.”

Step Five: Decorate!

This is where you and your cat’s unique style shows through. The back of the compartment can be covered in adhesive wallpaper or cute fabrics. Bedding can be blankies or pillows or both! It all depends on what your kitty finds cushy.

cat bed
@vintageinteriorxx/Instagram

Step Six: Take lots of pictures of your hip cat!

Once your cat has taken to their up-cycled TV cat bed, grab the camera and get to snapping. And don’t be a square, daddio, show us those pics!


@sissthemiss/Instagram

By the way, Davee930 also has other cat bed ideas you’ll fall for. Have a look!

H/T: www.mymodernmet.com
Feature Image: @vintageinteriorxx/Instagram

Recent Articles

Interested in learning even more about all things dogs? Get your paws on more great content from iHeartDogs!

Read the Blog